
We’ve even made it easy to get started in just a few minutes, rather than the hours, days or weeks that other HR software for small business may require. Find what you need, the moment you need it. All employee information is available in one place.
What’s in this Article:
- Setting up your Company Information
- Adding Employees
- Import Employees
- Upload a File to an Employee Profile
- Employee Self-Service
- Types of Permission
- Designate an Employee as a Manager/Supervisor
- Manager/Supervisor View of Direct Reports
Let’s get started!
Setting up your Company Information
After entering your Email Address and creating your Password, you will be automatically redirected to our Welcome page. Click on the Next button to enter your Company’s Information.
Next, tell us a little bit about yourself. The information entered will add you as the first employee!
*You can always skip these two pop-ups and enter the information later by clicking on the Skip option.
When you click the SAVE button, you will be brought directly to your Employee Directory.
Adding Employees
Now that you’ve entered your company name and established yourself as the first employee, let’s add more employees to your directory.
We have simplified the way you can add employees by just clicking on one button on the Employee Directory, the ADD EMPLOYEE button.
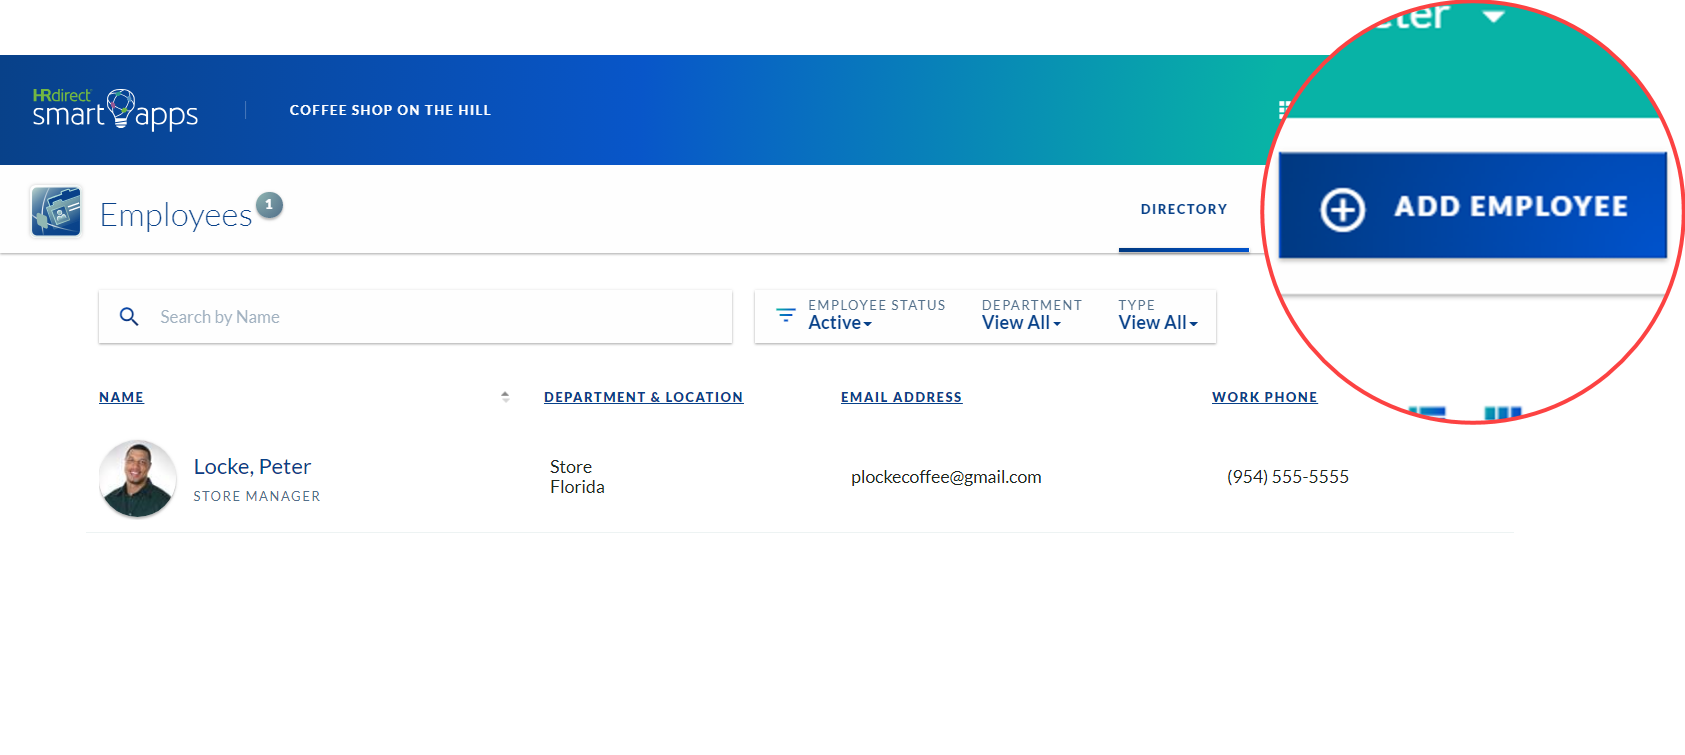
After you click on the ADD EMPLOYEE button, a New Employee slide-out will appear so you may enter your employee’s basic information, work contact and home contact details. An employee’s first and last name are required.
If you are interested in adding more than one employee at a time, let’s use the next step to show you how.
Import Employees
We know your time is valuable and needs to be used to its fullest during your day-to-day. This is why we provided you the option to upload your all employees instead of entering them one by one.
Click on the Import tab, on the top-right corner of the page:
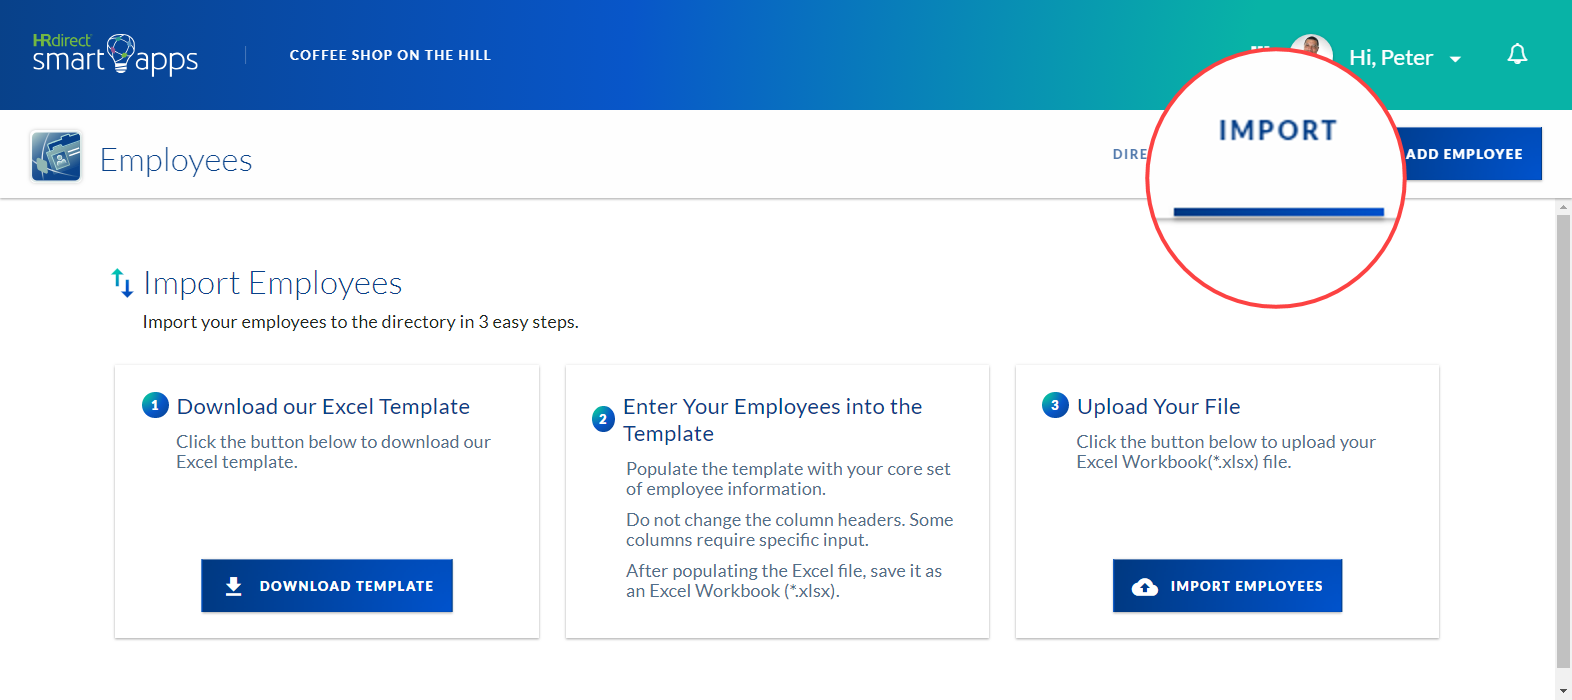
After clicking on the Import tab, you can start importing your employees to the directory in three easy steps.
- Click on the DOWNLOAD TEMPLATE button, which will download an Excel spreadsheet.
- Open the Excel spreadsheet; enter only your employees first name, last name and email address, and save the Excel spreadsheet to your computer.
- Last step, in the Import Employees page, click on the IMPORT EMPLOYEES button and select the template you just saved.
Now that your employee’s information is entered, let’s upload important employee documents to an employee’s profile!
Upload a File to an Employee Profile
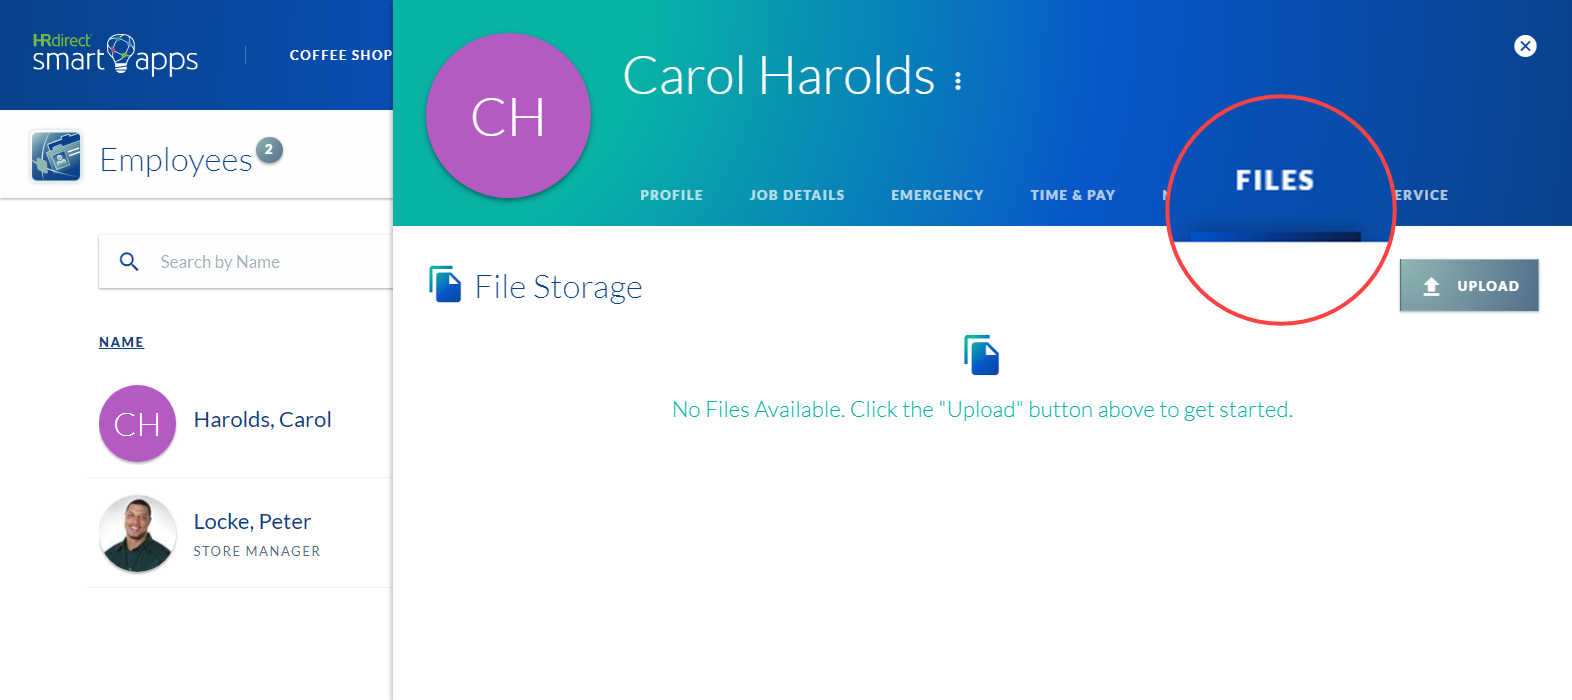
We know how important it is to store employee documents such as job applications, resumes, signed documents or other documents, it’s just too easy to upload them on Employee Records.
In the employee slide-out, click on the Files tab, to open the File Storage page. Next, click on the UPLOAD button and select the files you would like to upload to the employee’s profile. When you are done selecting the files, click on the DONE button to upload files.

Now that you have your employees set up, let’s have them take control of updating their personal information and emergency contact information.
Employee Self-Service
We are all humans and sometimes forget to update our employees' information, either because we got distracted other tasks or lost the sticky note that was left on our desk.
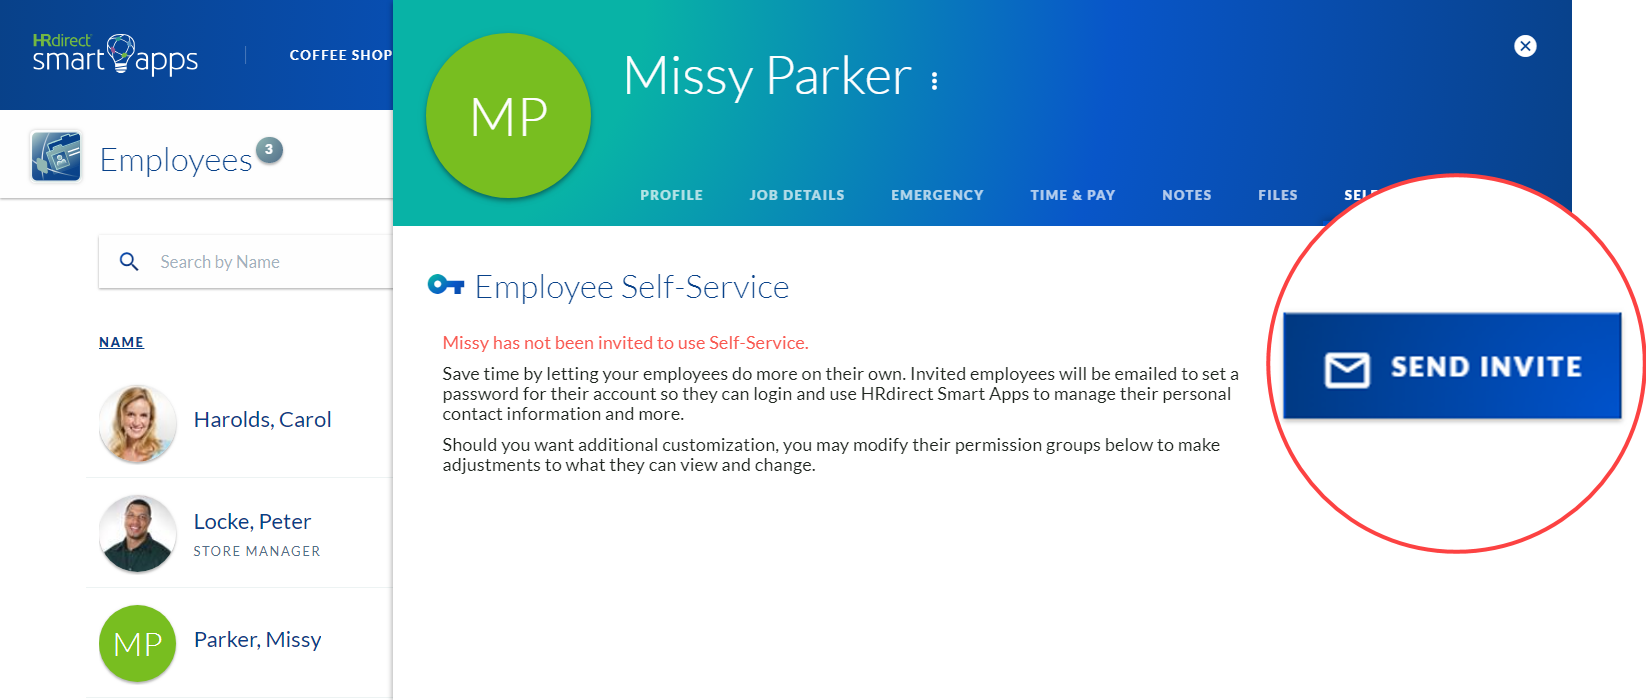
**NOTE** To access Self-Service tab, employee "MUST" have an email address saved on their profile.
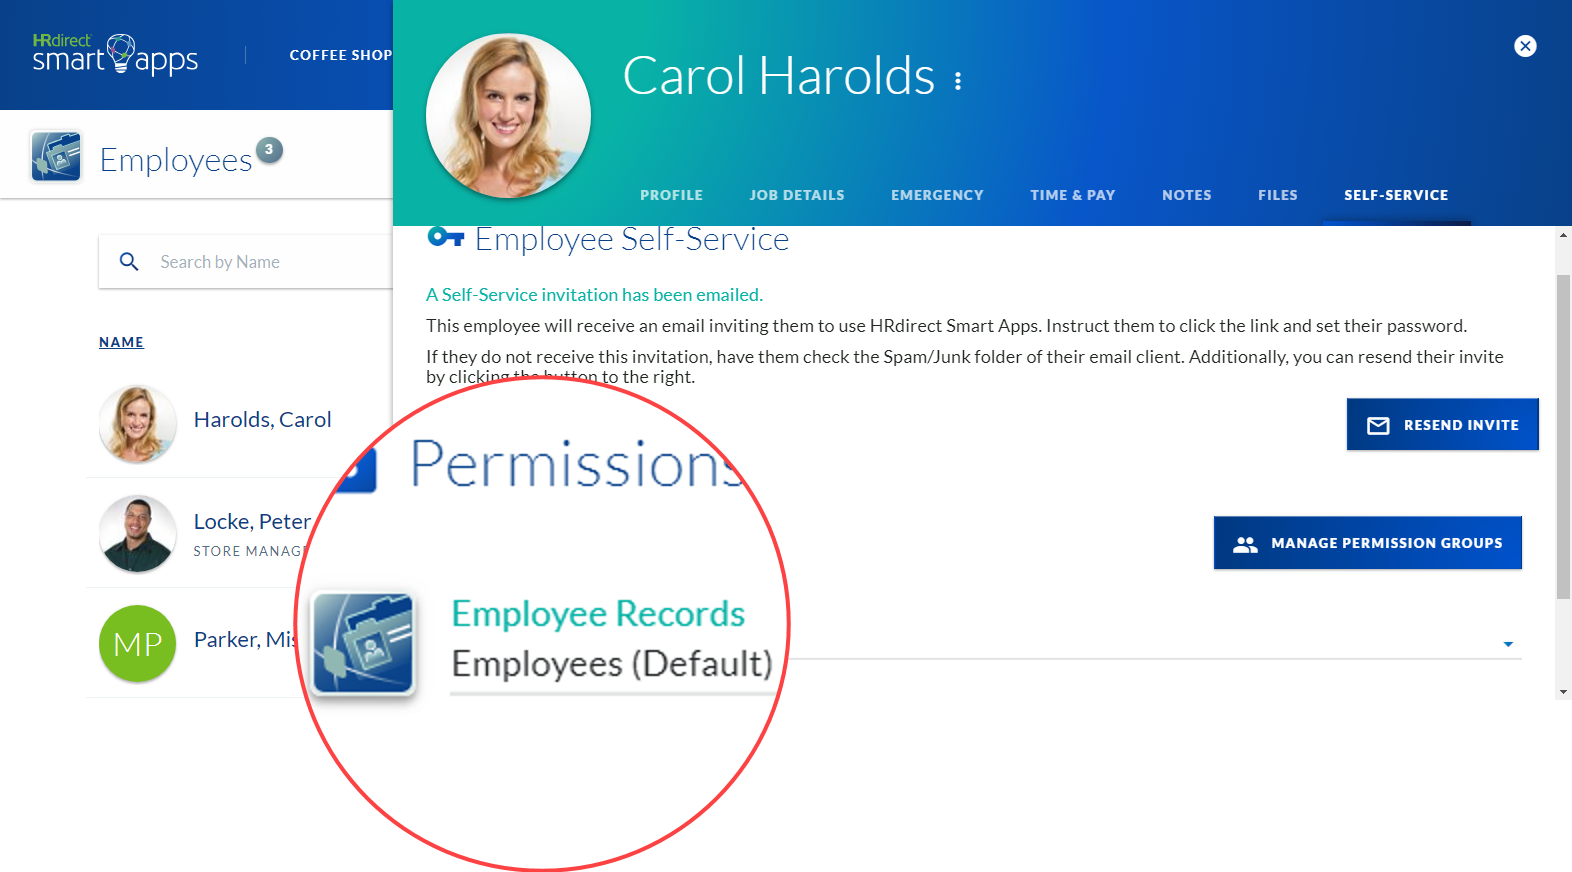
In the employee slide-out, click on the Self-Service tab to open Self-Service page. Next, click on the SEND INVITE button to send an employee self-service invitation to that employee. After clicking on the self-service invite button, you will see that a Permissions section is available and the Employee Records app has been automatically assigned Employees permission to that employee.
Repeat the steps to enable employee self-service to other employees.
Type of Permissions
Employees: Basic access to an employee's own profile and to view employee directory.
Managers/Supervisors: Manager access to view and edit their direct reports' profiles, includes all available employee permissions.
Administrator: Admin access to manage the account and company, includes all available employee and manager permissions.
OK, so employees have been added to Employee Directory check, uploaded important documents check, enabled employee self-service check, but have you assigned your employees as Managers/Supervisors?
Designate an Employee as a Manager/Supervisor
Some employees have more responsibilities than others and have teams they oversee and need to manage. We thought of that too!
First you will need to assign them as a Manager/Supervisor after you sent them their employee self-service invitation. Next, in the Permissions section, on the Employee Records, click on the line and select the permission Managers/Supervisors.
*Managers/Supervisors have access to view and edit their direct reports’ profiles and includes all employee permissions.
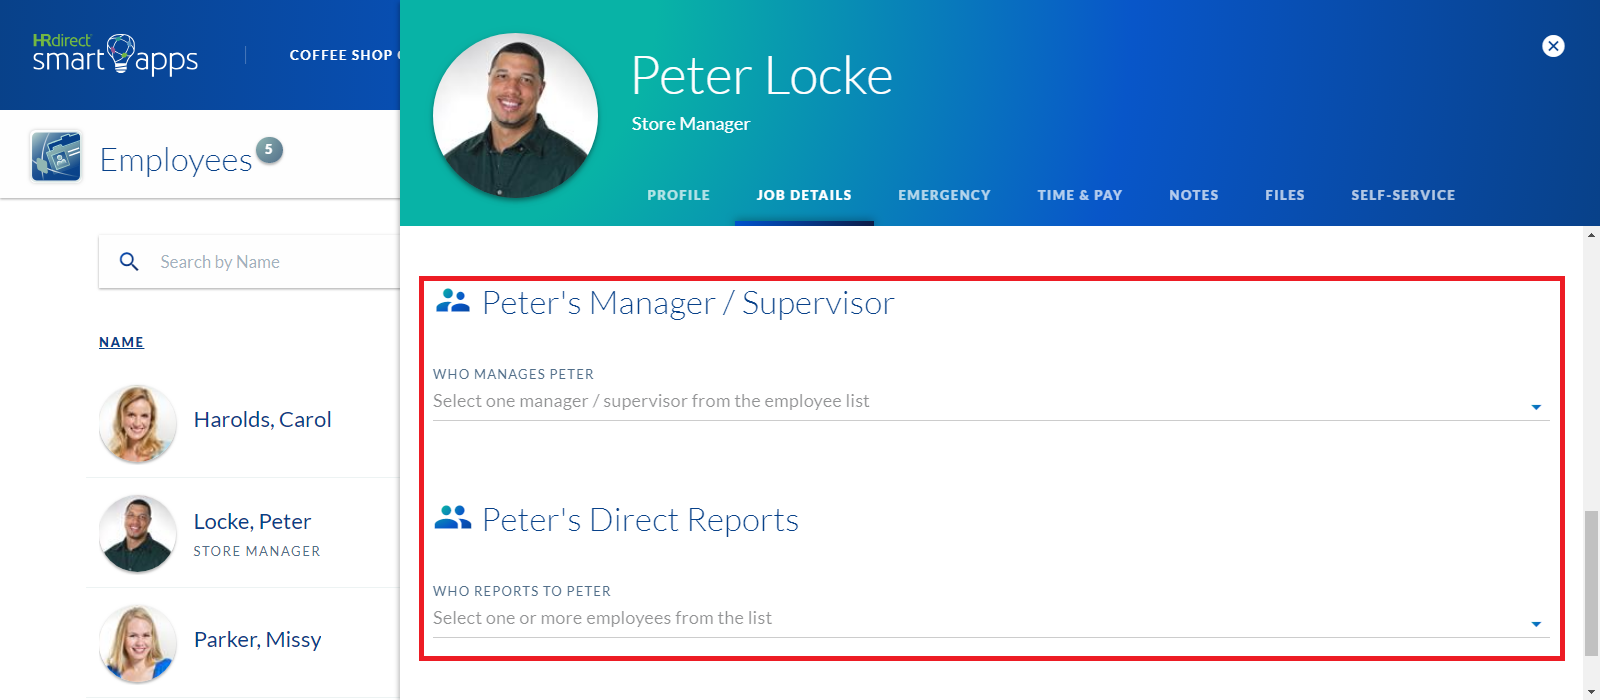
Manager/Supervisor View of Direct Reports
If you want control over manager's access to certain employees, then permission groups allow you to do that. You as the administrator have complete access to all information, but let's say you have a manager or supervisor who needs access to his/her employee's information. You don't want them to have full access but; you just want them to have access to the employee's they supervise. To do that, you need to assign your managers/supervisors direct reports. This means that wherever this manager/supervisor has access to employee information, he or she will only be able to view the employees who are assigned to them as direct reports. Please note, an employee can only be assigned as a direct report to one manager/supervisor.
You’re done!!
Comments
0 comments
Article is closed for comments.